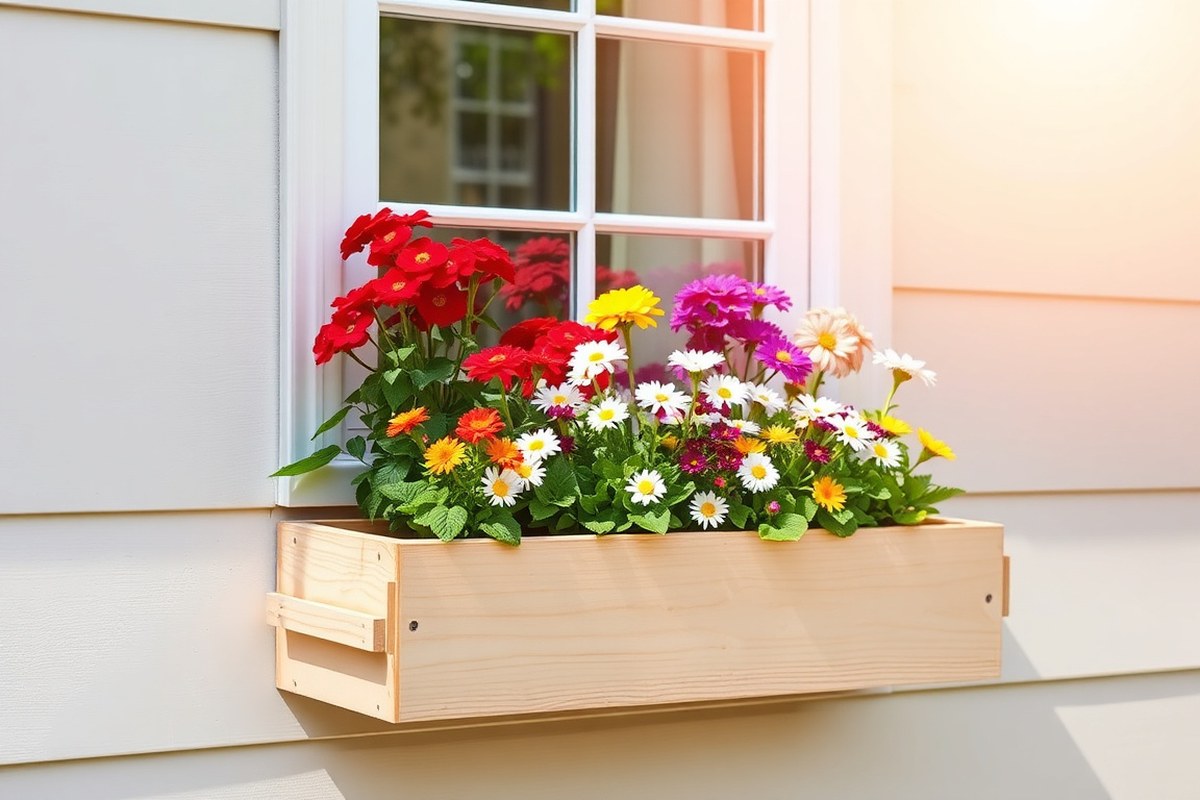
How to Make a Window Flower Box: Simple Steps for Perfect Fit and Lasting Beauty
Wondering how to make a window flower box? Start by sizing it about 2 inches wider than your window.
Keep the length no more than 4 to 5 inches longer for vertical windows. This helps the box fit well without overpowering the space.
Use scrap wood like 2×6 boards if you want to save money. Cut corners at 45 degrees on each side for a clean, sturdy shape. It’s easy to build a flower box for under $20 with basic tools and some patience.
Begin by measuring your window and planning the cuts. Pick weather-resistant wood or fence pickets for durability. Quick inspections every 6 to 12 months keep the box in good shape for years.
Key Takeaways
- Make the flower box about 2 inches wider than your window frame.
- Keep the box length within 4 to 5 inches longer for vertical windows.
- Use scrap 2×6 boards or fence pickets to build a sturdy box cheaply.
- Cut the corners at 45 degrees for neat, tight joints on each side.
- Choose cedar or other weather-resistant wood to extend the box’s lifespan.
- Secure the box with structural screws into wall framing for strong support.
What Is a Window Flower Box and How Does It Work?
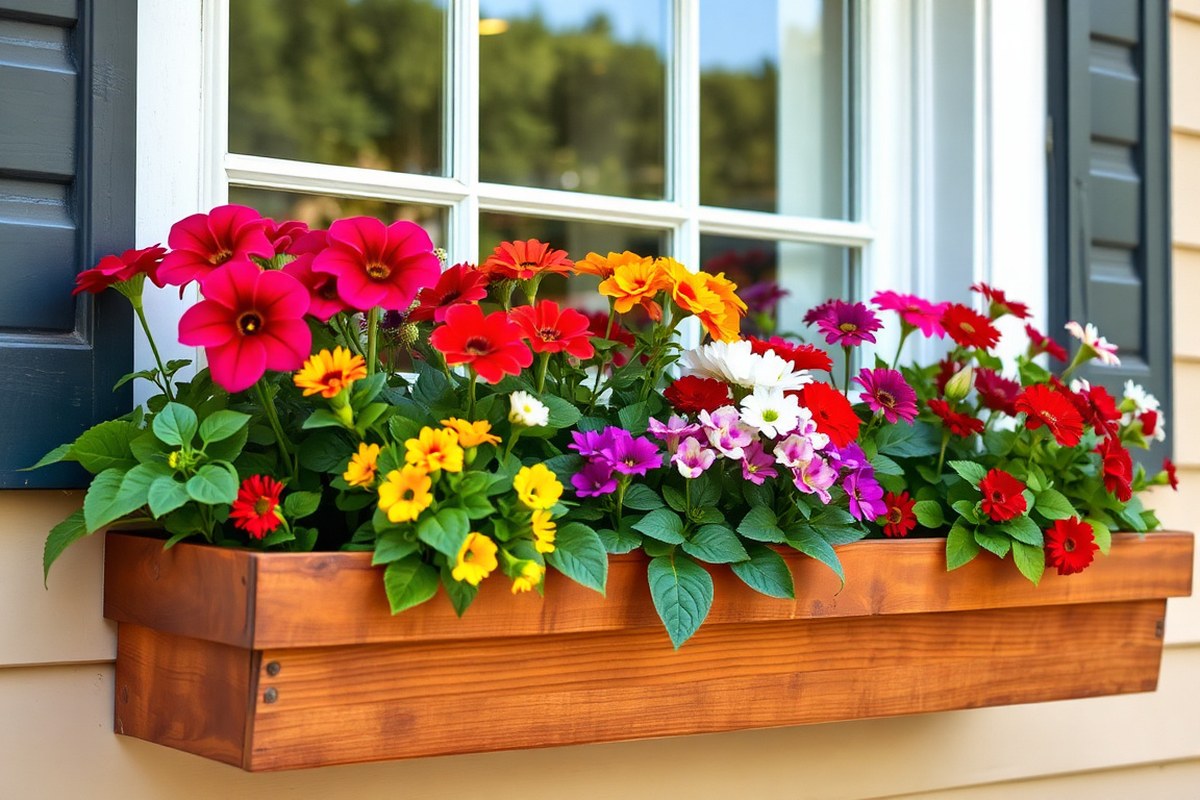
A window flower box is a shallow container attached just below a window. It’s made to hold soil and plants.
You can grow flowers, herbs, or small greenery right outside your window. These boxes usually have a simple rectangular shape with drainage holes to keep plants healthy.
Adding a flower box to your window gives your home a fresh, lively look. The splash of colorful blooms or green herbs adds charm and curb appeal without much cost.
Building a basic box costs under $20. You just need common woods like poplar or cedar.
The box has a wooden frame and a strong base for soil. Support brackets attach underneath for stability. Add trim molding for a neat finish.
Then prime and paint the box to match your home. These steps protect the wood from weather and make the box last longer.
Flower boxes give plants enough root space, usually 6 to 8 inches deep. This helps plants stay healthy. Drainage holes prevent water from pooling, which stops root rot and keeps soil aerated.
Grow herbs close to your kitchen. Or plant bright flowers to welcome guests to your home.
Installing the box with strong “L” brackets or chains under the window keeps it secure. This setup holds the weight of soil and plants safely even during rain or wind. Without proper support and drainage, the box might sag or damage your home’s siding over time.
How to Measure Your Window for the Perfect Flower Box Fit
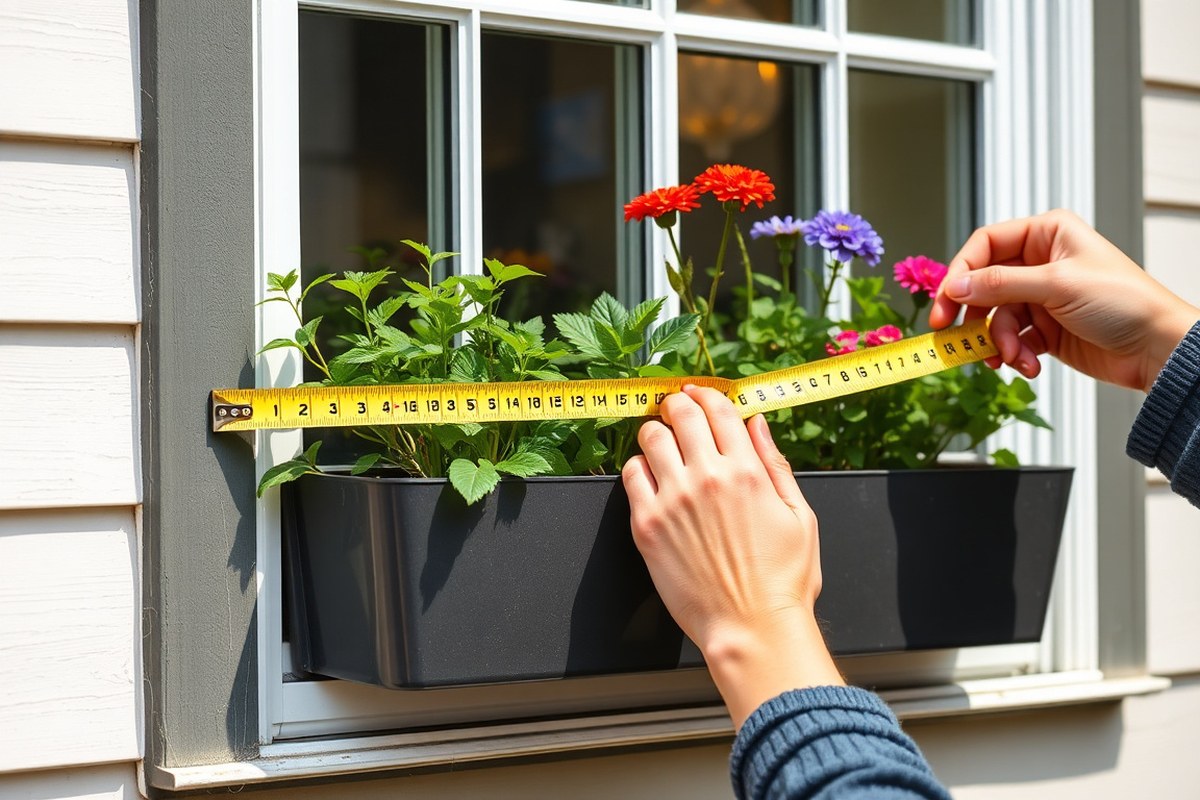
Measure your window width, height, and depth carefully. This ensures a flower box that fits well. It also helps the box look balanced.
The box should be a bit smaller than your window width. Make it deep enough to hold soil.
Also, it must fit your plants comfortably. Shape choices depend on whether your window is vertical or horizontal.
Measuring Window Width and Height
Start by measuring the window’s full width from one outer trim edge to the other. This step sets the maximum length for your flower box.
Next, measure the height of the window frame, including trim. So you know how much vertical space you have to work with.
Make notes of these two dimensions to help decide your box’s size. Avoid making the box wider than your window trim. It should be a few inches shorter on each side for a neat fit.
- Use a tape measure to get the full window width including trim.
- Record the width measurement accurately.
- Measure the height from the bottom to the top of the window frame or trim.
- Write down the height for later reference.
Measure twice to avoid making your box too wide or tall for the window.
Determining Flower Box Depth and Overhang
Flower box depth depends on your flower bed material thickness. It also depends on how much it sticks past the sill. Think about both before building.
A common depth is about 9 ½ inches, matching standard 1×10 boards. This size provides enough room for soil and roots without sticking out too far.
You can extend the box 2 to 3 inches past the sill. Make sure your wall space allows this extra overhang.
This adds a nice look to the box. Be sure the box does not block window operation or drop too low.
- Check the depth of your chosen board (usually around 9 ½ inches for 1×10 PVC).
- Measure the window sill depth from front to wall.
- Decide if you want an overhang of 2 to 3 inches beyond the sill.
- Add the overhang to your box depth measurement.
Too deep a box might block the window or look oversized on your wall.
Adjusting Size for Window Style and Home Design
Horizontal windows usually suit longer, shallower boxes to highlight their width. Vertical windows look better with taller, narrower flower boxes to match their shape.
Think about your home’s style too, modern homes prefer clean straight edges. Cottage styles can handle decorative shapes.
Trim and wall material can affect box size. Take your trim thickness into account when measuring. It can change how the box fits on your window.
For a balanced look, make the box 4 to 6 inches shorter than your window width. This keeps everything looking neat and proportional.
- Identify your window shape: horizontal or vertical.
- Choose a box shape that complements the window’s proportions.
- Consider matching your home’s architectural style in shape and size.
- Subtract 4 to 6 inches from window width to find ideal box width.
- Adjust box height based on vertical window dimensions if needed.
Don’t let your flower box overwhelm your window or clash with your home’s style.
Materials and Tools Needed to Build a DIY Window Flower Box
Wood is the top choice for building a window flower box. Cedar and pressure-treated lumber resist weather and last longer. Cedar costs about $3 to $5 per linear foot but looks nicer and handles moisture well.
Pressure-treated wood costs $2 to $4 per foot. It is budget-friendly. At first, it has a chemical smell.
Other materials like PVC, metal, or vinyl are possible but less common. PVC is low maintenance but costs more upfront, around $10 to $15 per foot.
Metal lasts long but risks rust without treatment. Vinyl can last but lacks the classic wood charm most people want for flower boxes.
| Material | Cost per Linear Foot | Pros | Cons |
|---|---|---|---|
| Cedar Wood | $3 – $5 | Weather resistant, attractive grain, lightweight | More expensive, softwood prone to dents |
| Pressure-Treated Lumber | $2 – $4 | Inexpensive, durable, resists rot | Initial chemical odor, may require sealing |
| PVC | $10 – $15 | Low maintenance, waterproof, long lasting | Higher cost, less natural look |
| Metal | $8 – $12 | Strong, modern look, durable | Rust risk, requires paint, heat sensitive |
| Vinyl | $5 – $8 | Weatherproof, clean look, low upkeep | Less natural, can crack in cold |
Basic tools for a beginner include a tape measure, saw, hammer, drill, and level. A cordless drill makes screwing and pilot holes faster. You’ll also want safety glasses and gloves.
Wood glue and 1¼-inch brad nails help join pieces neatly. 4-inch structural screws secure the box to the wall framing.
Optional accessories such as weather-proof stain or sealant protect your wood box. Some builders caulk inside seams with silicone to stop leaks at joints.
Paint or wood stain typically costs $10 to $20 per quart and lasts several projects. Rope hangers or decorative brackets add charm but increase costs a bit.
For a budget build, scrap wood or fence planks often work if sealed well. A basic flower box can be made under $20 using simple wood and nails.
This keeps your project affordable yet attractive. Choosing the right wood and tools upfront saves time and improves your flower box’s lifespan.
Step-by-Step Construction of a Durable Window Flower Box
Building a durable window flower box starts with cutting wood pieces precisely. Next, assemble all parts with strong joints and reinforce corners. Finally, drill drainage holes to keep plants healthy and add trim for a finished look.
Cutting Wood Pieces to Size
Measure your window’s width carefully to fit the flower box snugly. Use a 1×4 cedar board for durability and cut the front and back pieces to length. Cut two side pieces to match the depth you want for the box.
Each end should have a 45-degree angle to form neat corners. This makes the corners look clean and fit well.
Sand the edges of every piece to remove splinters and rough spots. Smoothing the wood prevents injury and helps the finish stick better. Prepare extra trim pieces for top and bottom if you want a more polished style.
Assembling the Box Frame and Bottom
Lay all cut pieces on a flat surface to start assembly. Fit corners tight by joining the front, back, and side boards together. Use waterproof wood glue on each joint to add strength before screwing the pieces.
Attach the bottom panel inside the frame with screws placed about every 6-8 inches. Use a drill to pre-drill holes with a 1/8-inch bit to avoid splitting the wood. Reinforce corners by adding small triangular wood blocks inside each corner and screwing them in place.
Before final assembly, double-check all joints are flush for a square box. This prevents gaps that let soil spill out or water leak unexpectedly.
Drilling Drainage Holes and Adding Trim
Flip the assembled box bottom side up to drill drainage holes. Use a 1/4-inch drill bit and space holes 3-4 inches apart. This spacing balances drainage without losing too much soil.
Next, line the inside bottom with plastic or landscape fabric. Poke small holes in the liner so water drains freely but soil stays put. This prevents rot inside the wood.
Add trim around edges using small finishing nails or waterproof adhesive. Vinyl trim works well since it won’t rot or fade. A neat trim hides screw heads and sharp corners for a cottage-style look.
- Measure the width and depth of your window opening.
- Cut front, back, and side boards with 45-degree corner angles.
- Sand all wood pieces to smooth rough edges.
- Apply wood glue to joints and fit pieces together tightly.
- Screw the frame parts with pre-drilled pilot holes.
- Attach the bottom panel inside the frame securely.
- Reinforce corners with small triangular blocks fastened inside.
- Drill 1/4-inch drainage holes spaced every 3-4 inches on the bottom.
- Line the box bottom with perforated plastic or landscape fabric.
- Add trim around the edges with finishing nails or adhesive.
Secure Mounting Options for Different Wall Types
How you mount a flower box depends on your wall’s material. Wood walls allow direct screwing, while brick needs anchors. Vinyl siding needs care to avoid damage.
Always locate the studs behind the siding. Screw only into the studs for best results.
Use screws at least 4 inches long. Choose stainless steel or coated metal screws. This helps hold the box steady on the wall.
For brick or masonry, use sleeve anchors or masonry screws designed for concrete. Find studs with a stud finder first.
Then screw through the vinyl siding into the studs. This prevents damage and keeps the box secure.
| Wall Type | Mounting Method | Required Hardware | Pros | Cons |
|---|---|---|---|---|
| Wood | Direct screwing into wall | 4-inch structural screws | Simple, secure, quick to install | Can cause small wood cracks if overtightened |
| Brick | Drill holes, use masonry anchors | Concrete sleeve anchors, masonry screws | Strong hold in tough surfaces | Requires correct drill bits and effort |
| Vinyl Siding | Screw into studs behind siding | Stud finder, 4-inch screws | Avoids damage to siding, sturdy hold | Harder to locate studs accurately |
| Without drilling | Use heavy-duty hanging brackets or straps | Metal brackets, adhesive hooks (optional) | No drilling, no wall damage | Less stable, limited weight capacity |
Hanging a box without drilling works for lightweight planters using strong brackets or straps. However, this is best for small boxes and short plants. Heavy or full boxes need screws and anchors to stay secure and prevent falls.
Confirm the box is level and fully supported before filling with soil or plants.
Drilling into brick or siding means extra work. But your box won’t fall during wind or rain.
Vinyl siding must not be pierced except at studs behind it. A stud finder helps locate the wood framing behind the siding confidently.
Concrete anchors cost about $5 to $10 per pack. They usually last longer than regular screws. They are worth the investment for durability.
Drill a hole slightly smaller than the anchor. Tap the anchor into the hole gently.
Then insert your screw to secure it firmly. This firm grip keeps the box attached firmly even when moist soil adds weight.
Choosing Plants and Soil Best Suited for Window Flower Boxes
Pick plants that stay small and can handle wind and sun exposure well. Choose a soil mix that drains quickly but still holds nutrients. These steps help your window flower box flourish in tight, exposed spaces.
Low-Maintenance Flower Box Plants
Look for small, hardy plants like succulents, herbs, or dwarf varieties of petunias. They don’t need frequent watering and survive in small soil amounts. Aim to fit 5 or 6 plants in a typical 24-inch flower box for best results.
Plants like geraniums, lobelia, and pansies do well in window boxes. They can handle wind and sun without problems. These plants are good choices for your garden.
Mix some trailing plants like ivy or sweet potato vine to add dimension. Avoid plants with deep roots; they won’t do well in narrow containers.
Soil Composition and Drainage Tips
Use a high-quality potting mix designed for containers, not regular garden dirt. Look for soil with perlite or vermiculite to keep it light and well-drained. About 70% potting soil and 30% perlite is a good balance for most window boxes.
Always check drainage holes are clear to prevent water from sitting and rotting roots. Place a layer of small rocks or broken pots at the bottom for extra drainage. Adding slow-release fertilizer when planting helps feed your plants for several weeks.
Adjusting Plant Choice by Sunlight
Southern-facing windows get full sun, so pick sun-loving plants like marigolds or petunias. These plants need at least 6 hours of sunlight daily to bloom well. Northern exposures get less sun, so low-light plants like ferns or impatiens suit better.
East or west-facing windows get morning or afternoon sun that is less intense. Choose plants like begonias or coleus that tolerate partial sun. Picking plants that match your light keeps them healthy.
It stops wilting and weak growth. This also keeps your window box bright all season.
Maintaining Your Window Flower Box for Long-Term Success
Water your window flower box once or twice a week depending on weather. Check soil moisture by sticking a finger about two inches deep. Prune dead or overcrowded stems every two to three weeks to encourage growth and prevent disease.
Protect the flower box from rot by applying a waterproof sealant before installation. Reapply this sealant every year to keep wood safe from moisture damage. Avoid pests by elevating the box and inspecting plants regularly for signs of bugs or mold.
Renew the soil annually to keep nutrients fresh and prevent compaction. Replace plants that look weak or stop blooming after a season. Do this usually in early spring or fall.
The best time depends on your climate and plants. Using liners that resist rotting helps preserve the box’s structure longer.
- Water when the top 2 inches of soil feel dry
- Prune spent blooms and leggy growth every 2, 3 weeks
- Apply waterproof sealant yearly to wooden boxes
- Improve boxes slightly to improve air circulation and pest control
- Refresh soil with high-quality potting mix once a year
- Swap out tired plants during spring or fall seasons
- Inspect weekly for pests like aphids or powdery mildew
Seasonal care includes reducing watering in fall to prevent root rot. In winter, remove dead foliage and cover the box if exposed to harsh cold. Spring is the best time for fresh soil and new plants to thrive in warmer weather.
Common Mistakes to Avoid When Building and Installing a Flower Box
Poor drainage can ruin your flower box and your wall. Without holes or a drainage layer, water pools inside. It leads to root rot and wood damage.
Drill several ½-inch holes in the bottom, then line the box with landscape fabric. This lets water out but holds soil in place.
Your flower box size needs to match the window well. Too big, and it looks odd or blocks light. Too small, and you risk instability or limited plants.
Aim for a box that’s 4 to 6 inches wider than the window. Add this width on each side for balance.
This size fits most windows well. Depth should be at least 6 to 8 inches to allow enough soil.
Mounting must be secure and level to avoid accidents or water damage. Use heavy-duty screws that fit your wall type.
For brick or concrete, use anchors or masonry screws. Check with a level while installing brackets or cleats to keep the box straight.
- Seal the joints with waterproof exterior caulk to stop leaks
- Use rot-resistant wood like cedar or treated pine
- Apply a water sealant on the inside and outside surfaces
- Don’t overcrowd plants; allow roots room to breathe
- Inspect the box every 6 to 12 months for damage or leaks
- Use brackets spaced every 12 to 16 inches for stable support
Too much weight can pull your flower box down. Soil, plants, and water add up quickly, so strong mounting is important. Install supports that hold double the expected load.
Check for loose screws or sagging. Tighten or replace fasteners right away.
Always check that drainage holes stay clear to prevent water buildup inside the box.
Improper sealing lets water seep into your home’s walls, which causes rot and insect problems. After assembling the box, rub a bead of exterior caulk on all seams. That simple step keeps your walls safe and your flower box lasting years.
Add more drainage holes to fix small problems. Sand rough edges that could chip paint. These small fixes help your box last longer.
Loosen the mounts if your box isn’t level. Use thin scrap wood as shims.
Adjust until it sits flat. Regular care prevents costly repairs later.
Step-by-Step Action Plan
Follow these clear steps to build, install, and care for your window flower box effectively.
- Before you start: Measure your window accurately and gather all needed materials. Check that your measurements fit the flower box design.
- Day 1: Cut and assemble the wood pieces using the step-by-step guide. Confirm the box sits level and all joints are secure.
- Day 2: Prepare the mounting surface and select the right hardware for your wall type. Ensure the mounting points hold your weight securely.
- Day 3: Attach the flower box firmly to the wall. Test stability by applying gentle pressure in different directions.
- Day 4: Fill the box with quality soil and plant your chosen flowers. Water the soil lightly and watch for proper drainage.
- After 1 week: Check the health of your plants and the firmness of the box. Adjust watering as plants settle in.
- After 4 weeks: Clean the flower box and trim dead leaves. Look for signs of wear or loose mounts and fix as needed.
Frequently Asked Questions
Can I Use Recycled Wood for My Window Flower Box?
Yes, recycled wood works well for window flower boxes. Make sure it is untreated and sturdy to avoid chemicals harming your plants or rotting quickly. Proper sealing also helps recycled wood last longer outdoors.
How Do I Prevent Water Damage to the Wood Flower Box?
Use a good outdoor wood sealant or paint on all surfaces. This stops moisture from soaking in and warping the wood. Regular checks and recoating help keep it waterproof over time.
What Weight Limit Should I Consider for a Window Flower Box?
Consider the box plus soil and plants’ total weight when mounting. Aim for brackets or supports rated well above your expected load. This avoids damage to the wall or window frame.
How Deep Should a Flower Box Be for Most Plants?
A depth of 6 to 8 inches is good for popular window box plants. It provides enough soil for roots without making the box too heavy or bulky. Adjust depth if growing larger or deeper-rooted plants.
Can I Add a Liner Inside the Flower Box?
Yes, plastic or metal liners help keep soil and water contained. They protect the wood from rotting and make clean-up easier. Ensure the liner has drainage holes to prevent water buildup.
Should I Paint or Stain My Window Flower Box?
Painting offers colorful protection and hides imperfections well. Staining keeps the wood look natural and still guards against weather. Choose products designed for exterior wood to ensure they last outside.
Wrapping Up
This flower box adds beauty and life to your home’s exterior. Start by measuring your window today. Enjoy seeing your new flowers bloom from your handmade box.