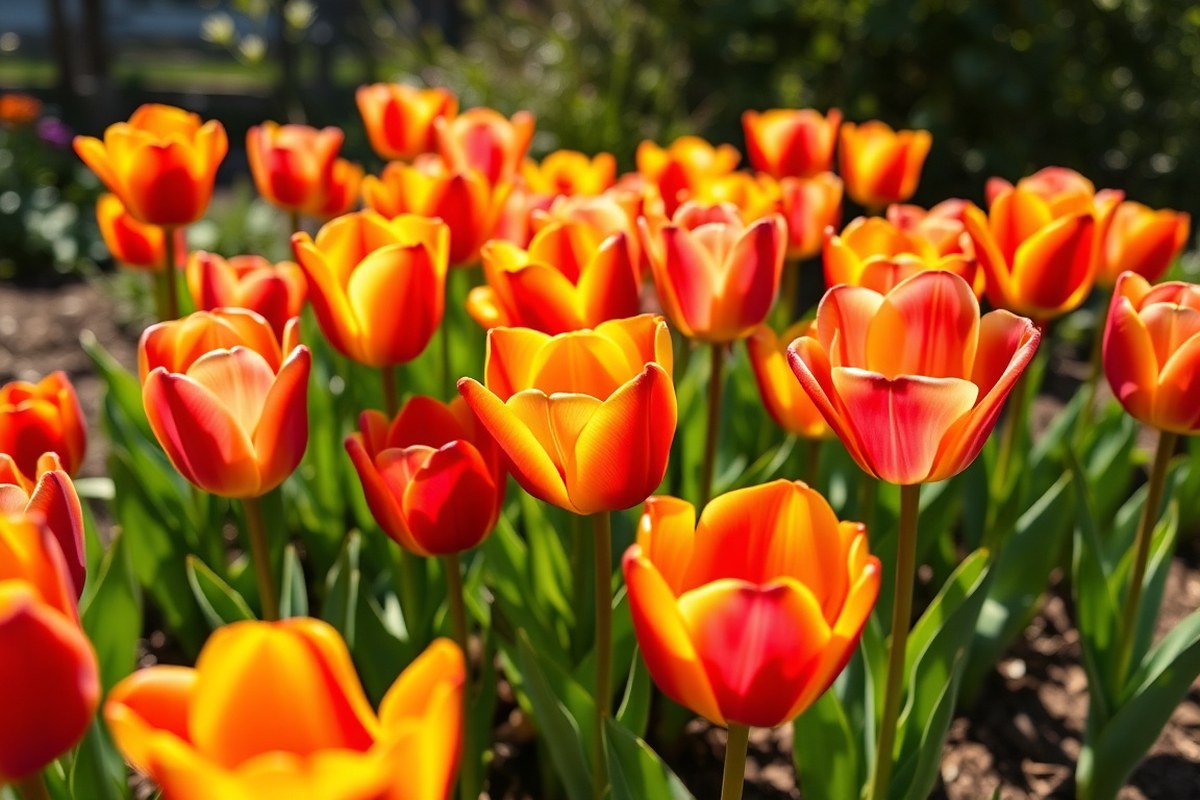
Are Tulips Hard to Grow? A Complete Guide with Expert Tips
Are tulips hard to grow? Not really, but they do need specific care.
Planting bulbs in fall gives them time to root before winter. They need cold soil for several weeks to bloom well in spring.
You should pick a sunny spot with well-drained soil. Plant bulbs 6 to 8 inches deep.
Space them close for strong stems and a bright, full display. Watch out for soil that’s too wet or heavy, as tulips don’t like soggy roots.
Some gardeners worry about tulip pests and diseases. But keeping plants healthy and picking the right varieties can prevent most issues.
You can force tulips indoors to bloom in winter. Chill bulbs for a few weeks first.
Key Takeaways
- Plant tulip bulbs 6 to 8 inches deep for best growth and strong stems.
- Space bulbs 4 to 8 inches apart to suit your garden’s look and size.
- Choose a site that gets 6 to 8 hours of direct sunlight daily.
- Plant bulbs 6 to 8 weeks before the first hard freeze in your region.
- Use slightly acidic soil with pH between 6 and 7 for optimal growth.
- Keep soil well-drained to prevent bulb rot and other diseases.
Are Tulips Hard to Grow for Beginners?
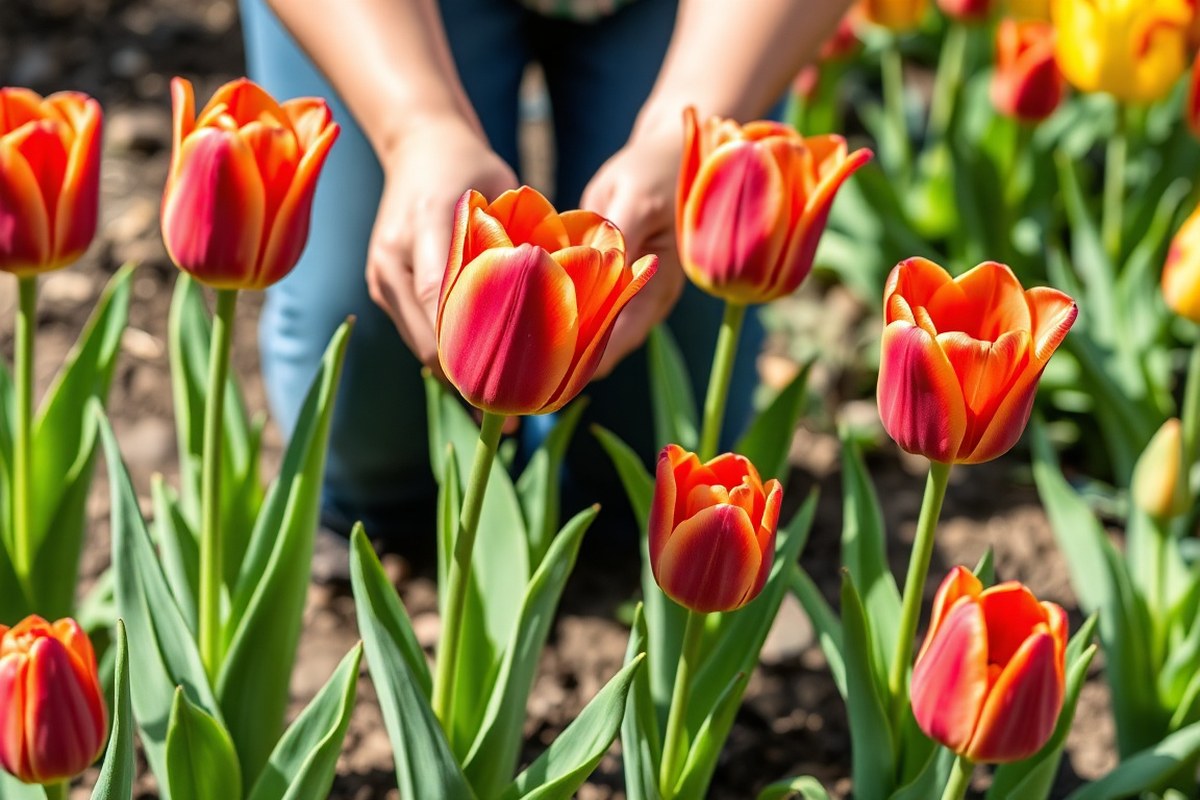
No, tulips are not hard to grow for most beginners. They just need plenty of sunlight and well-drained soil to thrive. Getting these basics right makes growing tulips much easier than many expect.
The key challenges usually come from timing and soil. Tulips need planting in fall. Do this about 6 to 8 weeks before a hard freeze.
This timing helps bulbs root well. This timing lets the bulbs settle before winter.
Planting too late can stop bulbs from rooting well. It may also prevent blooming.
Drainage also matters. Tulips dislike sitting in soggy soil, which can cause bulbs to rot. You can improve drainage by mixing sand or compost into heavy soil.
Space bulbs 4 to 8 inches apart. The distance depends on bulb size. You also decide how packed the flowers look.
Beginners often worry about tulips coming back every year. Some varieties handle this better, but many gardeners treat tulips as annuals.
Lifting bulbs at season’s end and buying fresh ones next fall prevents many common problems. This approach reduces worries about pests and diseases that can harm bulbs left in the ground.
In mild winter areas, like Zones 8 to 10, tulips sometimes struggle to bloom well. These regions may lack the cold needed to trigger growth properly. Living in a warm area makes bulbs bloom harder.
You can try indoor forcing or pick bulbs that like warmth. Otherwise, tulips usually bounce back nicely in colder zones.
Use healthy bulbs to start. Plant them about 6 inches deep. Give your tulips plenty of sunlight for best results.
Expect occasional failures from weather or pests, but those can be managed over time. Tulips reward care with bright blooms that make the effort worthwhile.
Choosing the Best Tulip Varieties for Your Climate
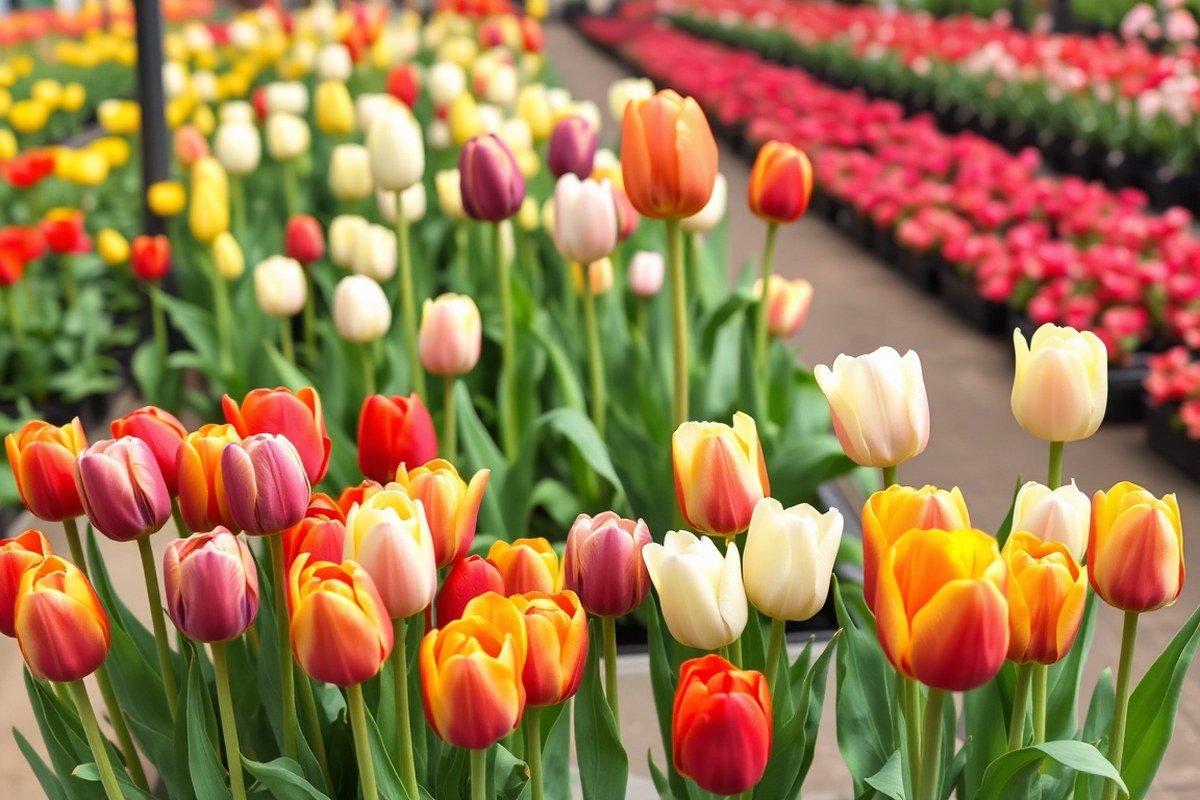
Choosing tulip varieties compatible with your climate zone makes growing easier. Use USDA zones 3 to 7 as a basic guide since most common tulips thrive there. Pick early bloomers for shorter springs and late bloomers if freezes last longer.
Height and colour come into play when planning your garden or container arrangements. Shorter tulips generally do better in pots because they fit well and resist wind damage. Colour variety helps you plan a blooming sequence that looks good throughout spring.
| Variety | Bloom Time | Height | Flower Size | Foliage | Best For |
|---|---|---|---|---|---|
| Greigii Tulips | Mid to Late Spring | 6-14 inches | 3 inches | Broad, wavy, mottled | Garden beds, pots |
| Triumph Tulips | Mid Season | Medium stem length | Single flower, variable | Green, sometimes purple-tinged | Cut flowers, general gardens |
| Double Late Tulips | Late Spring | 22 inches | 6 inches | Peony-like blooms | Large garden beds |
| Fosteriana Tulips | Early Spring | Varies, usually tall | 4 inches | Mottled or striped | Early color, sunny spots |
For containers, focus on small to medium varieties like Greigii or short Triumph types. Plant bulbs 5 to 6 inches deep and space them 4 to 6 inches apart. Deeper planting helps bulbs survive colder winters, preventing frost damage.
Keep your soil well-drained, especially in pots where water can pool. Amend dense soil with organic matter to improve drainage and keep the bulbs from rotting. Good drainage avoids soggy soil, which stops bulbs from growing.
Pick tulips that match your USDA zone. Plant bulbs three times their height deep. This helps bulbs grow strong roots and bloom well.
Match tulip types to your climate and space size. This gives better blooms with less work. It keeps your garden healthy and pretty longer.
Planning bloom times creates a continuous spring show. Picking the right height keeps flowers stable in pots or garden beds.
When and How to Plant Tulips for Best Results
The best time to plant tulip bulbs is in the fall. Plant when soil temperatures range from 40 to 50°F. This helps bulbs grow strong roots.
Plant bulbs 6 to 7 inches deep and space them 4 to 6 inches apart. This allows roots to develop before winter and prepares tulips for strong spring blooms.
Timing Planting Based on Local Frost Dates
Plant tulip bulbs after the first hard frost but before the ground freezes solid. Soil temperature is more important than air temperature for planting time. Aim for the soil to cool to around 50°F or lower.
This signals the bulbs to start their root growth. Cooler soil encourages good development.
In most areas, this window falls between late September and mid-November. Use a soil thermometer to check temperatures at about 4 inches deep.
Plant too early in warm soil and bulbs may rot. Too late, and roots won’t develop well.
Correct Depth and Spacing Guidelines
Plant bulbs 6 to 7 inches deep with the pointed end facing up. Species tulips require slightly shallower planting at 4 to 5 inches deep. Space bulbs 4 to 6 inches apart for good air flow.
Keep them close enough for a dense flower display. Proper spacing helps bulbs grow healthy.
In tight beds, plant bulbs closer like eggs in a carton. This gives a fuller look for your tulip patch. Crowding bulbs boosts flower density visually.
The right depth helps support the stems and protects bulbs from freeze-thaw cycles. Dig holes wide enough to fit the bulbs without bending them.
Preparing Soil for Planting Tulips
Tulips need well-drained soil with a pH between 6 and 7. Avoid heavy clay soil or soggy spots. Mix organic matter like compost or peat moss into your soil.
This improves drainage and adds fertility before planting. Good soil helps bulbs grow better.
Remove rocks and weeds to make the soil loose and crumbly. This encourages roots to spread quickly. Avoid fertilizing at planting time; wait until shoots appear in spring for best results.
Planting Tulips in Containers
Choose containers at least 10 inches deep with drainage holes. Use good-quality potting soil that drains well and is slightly acidic. Plant bulbs 6 to 7 inches deep and space them 4 inches apart.
Place bulbs pointy side up in the soil. Water lightly after planting. Containers dry out faster.
So check moisture often to keep soil just damp but not wet. Group containers in a cool, sheltered spot outdoors until shoots appear.
Follow these steps to plant tulips properly:
- Check soil temperature at about 4 inches deep using a soil thermometer.
- Choose a sunny spot with well-drained soil or a deep container with drainage holes.
- Prepare soil by loosening it and mixing in organic matter if needed.
- Dig holes or a trench 6 to 7 inches deep for bulbs. Space the bulbs 4 to 6 inches apart in your garden. Proper depth and spacing aid root growth.
- Place bulbs pointy end up in the holes or container soil.
- Cover bulbs with soil and gently firm it down to eliminate air pockets.
- Water the planting area lightly to settle the soil but avoid soggy conditions.
- Apply a layer of mulch, like straw or wood chips, to keep soil cool and moist.
Essential Growing Conditions: Sunlight, Soil, and Water
Tulips need plenty of sunlight to grow well. Choose a spot where they get at least 6 to 8 hours of direct sun daily.
Too little sun makes tulips weak and spindly. Plenty of light keeps their stems strong and flowers vibrant.
The soil should be well-draining and rich in organic matter. Tulips prefer a slightly acidic to neutral pH between 6 and 7. You can test your soil’s pH using a kit from a garden store.
Another option is to send a soil sample to your local extension service. Both methods give you a clear idea of your soil’s pH level.
Dig a hole about 12 inches deep to check how well water drains. Fill it with water and watch how long it takes to sink in. Add organic matter like compost or bark if water drains slowly.
Watering tulips is key but don’t overdo it. Right after planting, soak the soil enough to wet the bulb and hole deeply.
This jumpstarts root growth before dormancy. After that, water only if the soil feels dry about 1 inch below the surface.
Too much water can cause bulbs to rot. During rainy spells, skip watering.
Drainage problems need you to water your tulips less to stop soggy soil. Using mulch helps keep moisture steady and reduces watering frequency.
For best results, prepare planting holes with a mix of native soil and amendments. A good blend looks crumbly and lets water pass through within a few minutes. When soil stays wet or clumps, add organic matter before you plant.
Using these tips, tulips grow strong roots and bloom better. Tulips grow well with steady sunlight and the right soil mix. Keep watering them carefully during the growing season.
Good soil and watering help your tulips stay strong. Avoid soggy spots and shady corners to keep them healthy year after year.
Using the Refrigerator Method to Force Tulips Indoors
To bloom tulips indoors early, you simulate winter chilling by refrigerating the bulbs. Chill them for about 10 to 14 weeks at the right temperature. Then, bring them indoors to force early blooms in pots.
Preparing Bulbs for Refrigeration
Start with healthy, firm tulip bulbs free from mold or soft spots. Use bulbs labeled for forcing if possible, as they bloom better indoors.
Place bulbs in a breathable bag or paper bag to allow air circulation. Avoid plastic bags, which trap moisture and cause rot.
Optimal Temperature and Duration
Set your refrigerator thermostat between 35°F and 45°F (2°C to 7°C). This cold range mimics winter soil conditions.
Keep bulbs chilled for 10 to 14 weeks to meet their “cold requirement.” Less chilling risks weak or no blooms.
Transitioning Bulbs Indoors
After chilling, plant five to six bulbs in a 6-inch pot with well-drained, soilless mix. Potting in fall works well for timing blooms.
Bring potted bulbs into a cool, bright spot initially around 50°F to 60°F (10°C to 15°C). Gradually increase light and warmth.
- Choose healthy bulbs suited for forcing.
- Place bulbs in a paper bag for airflow.
- Put bulbs in the fridge at 35°F to 45°F for 10 to 14 weeks.
- Prepare pots with well-drained, soilless potting mix.
- Plant five to six bulbs per 6-inch pot at 4 inches deep.
- Move pots indoors to a cool, bright place at 50°F to 60°F.
- Water bulbs lightly to keep soil moist but not soggy.
- After roots develop, increase room temperature and light exposure.
Do not store tulip bulbs with fruits in the fridge, because ethylene gas can damage bulbs.
Caring for Forced Tulips While Blooming
Keep soil evenly moist, watering when the top inch dries. Avoid soggy conditions to prevent bulb rot.
Move pots to a sunny window once stems grow 4 to 6 inches tall. Tulips open fully with more light.
Tulip blooms indoors usually last two weeks. Cooler indoor temperatures can extend their bloom time.
Common Tulip Pests and Diseases: Prevention and Treatment
Aphids are one of the most common pests that attack tulips. These small insects suck sap from leaves and stems, causing them to curl and distort. You can prevent aphids by spraying tulips with insecticidal soap every week during the growing season.
Rodents like squirrels and voles also cause big problems by digging up and eating tulip bulbs. To keep them away, plant tulips near daffodils or alliums, which rodents dislike. You can put wire mesh over bulb planting areas.
Use mesh to keep pests out of the soil. Another option is to apply commercial rodent repellents near your garden.
Fungal diseases such as tulip fire and bulb rot affect tulip health and blooms. Tulip fire causes brown spots on leaves and petals, often leading to dieback. Avoid overhead watering to stop problems before they start.
Plant bulbs 6 to 8 inches deep in well-drained soil. This keeps bulbs healthy and safer from disease. For bulb rot, make sure soil isn’t soggy, as fungi thrive in wet conditions.
Using fungicides can help if fungal diseases are severe. A common chemical treatment is a copper-based fungicide applied early in the spring.
Organic options include neem oil, sprayed every 10 days at the first sign of disease. Removing infected bulbs and leaves also lowers disease spread.
| Pest/Disease | Prevention | Treatment |
|---|---|---|
| Aphids | Spray insecticidal soap weekly; plant pest-repellent companions | Insecticidal soap; neem oil every 7-10 days |
| Rodents (squirrels, voles) | Plant with daffodils/alliums; cover bulbs with wire mesh | Use rodent repellents; traps where legal |
| Tulip fire (fungal) | Good air flow; avoid overhead watering; remove diseased parts | Copper fungicide early spring; neem oil every 10 days |
| Bulb rot (fungal) | Well-drained soil; avoid excess moisture | Remove and discard rotted bulbs; use fungicide if needed |
Effective pest and disease control takes time and care but keeps tulips blooming strong. Check your tulips weekly to catch problems early. Using both prevention and treatment protects bulbs best over time.
Try combining methods for stronger and longer-lasting results. This approach helps keep flowers safe each season.
After-Bloom Care to Ensure Tulip Health and Future Blooms
After tulips finish blooming, leave their leaves to die back naturally. Cut the flower stalks but keep the foliage until it turns yellow and withers. This helps the bulbs store energy for next year’s flowers.
Managing Tulip Foliage Post-Bloom
Cut only the flower stalks once the blooms fade. Don’t trim the leaves while green because they feed the bulbs. Foliage supports energy storage in the bulbs for blooms next spring.
Leaves may look untidy as they yellow. But resist the urge to cut them early.
Let the foliage die back fully, usually over 6 to 8 weeks after flowering. Only remove leaves when they are yellow and brittle.
Deciding Whether to Lift Bulbs
You can leave tulip bulbs in the ground to grow again if you want perennials. Your soil drains well and winters are cold, so bulbs often survive without lifting. Avoid digging bulbs unless you plan to divide or replace them.
You treat tulips like annuals by digging up the bulbs after leaves die down. Lift bulbs carefully in late summer, around July or August, when leaves are dry. Clean bulbs, remove excess soil, and store them in a cool, dry place until fall.
Fertilizing and Mulching Practices
Apply a balanced fertilizer after blooming to support new bulb growth. Use a formula with equal nitrogen, phosphorus, and potassium, like 10-10-10. Avoid fertilizing in the fall since bulbs prepare naturally for dormancy then.
A 2-inch layer of hardwood mulch helps keep soil moisture steady and prevents puddles. Mulch after fertilizing, once the soil has cooled. It also protects bulbs and reduces weed competition.
Preparing for Winter Survival
In colder climates, mulch helps insulate bulbs against freeze-thaw cycles. Use straw, shredded leaves, or bark chips for extra warmth. Keep mulch loose to allow airflow and prevent rot.
Protect bulbs from animals that dig or eat them by planting ground covers nearby. Plants like pachysandra or vinca can hide dying leaves and block access. In mild winters, mulch still benefits moisture retention and temperature regulation.
- Snip off spent flower stalks near the base immediately after blooming.
- Leave the green foliage untouched until yellow and brittle, 6, 8 weeks later.
- Decide if bulbs stay planted or need lifting based on your climate and plans.
- When lifting, wait until leaves fully brown, then dig up bulbs with care.
- Apply a balanced fertilizer after flowering to help bulbs store nutrients.
- Mulch beds with a 2-inch layer of hardwood mulch after fertilizing.
- Provide extra winter mulch in colder areas to protect bulbs from freezing.
- Plant low ground covers to hide yellow leaves and deter animals.
Overcoming Challenges in Mild Winters and Shady Gardens
Tulips need 12 to 14 weeks of cold weather to bloom well. Mild winters in warm climates often don’t provide enough chill. Without this cold period, bulbs won’t fully develop flowers or may not bloom at all.
You can mimic cold conditions by chilling bulbs indoors. Put the bulbs in a paper bag. Then, place it inside the fridge.
Keep it at 35 to 48°F for about 12 weeks. Avoid storing near fruits like apples, which emit gases that can harm bulbs.
Pick tulip types that grow well in shade. Species tulips or Darwin hybrids work best. They handle less light better than others.
Plant bulbs where they get at least 4 to 6 hours of indirect sunlight. Too little light can cause weak stems and poor blooms.
Adjust watering by increasing it during active growth. Tulips in warm areas need moist soil but not soggy conditions.
Stop watering once leaves yellow and die back to prevent bulb rot. Fertilize with balanced, slow-release fertilizer at planting and again in early spring.
Container planting lets you move bulbs to cooler, sheltered spots during cold weather spells. An unheated garage or basement works well until sprouts appear. This method protects bulbs from fluctuating outdoor temperatures that can confuse their growth cycle.
Don’t overwater dormant tulip bulbs in warm climates, it invites rot and ruins your bulbs.
Plants grown as annuals in warm zones give you fresh blooms each year. Expect to replace bulbs yearly because they won’t often come back reliably. This approach saves effort and keeps your garden colorful every spring without disappointment.
Step-by-Step Action Plan for Growing Tulips
Follow these steps to plant and care for tulips successfully. Watch for signs that your bulbs and plants are thriving.
- Before Planting (Fall): Pick healthy bulbs that feel firm. Choose a sunny spot. Make sure the soil drains well. Healthy bulbs feel solid and are free of mold.
- Planting Day: Plant bulbs 6 to 8 inches deep and 4 to 6 inches apart. Cover them well and water lightly; the soil should feel moist but not soggy.
- First Month: Check soil moisture weekly and water if dry. Avoid overwatering, which causes bulb rot.
- Early Spring: Look for green shoots emerging. This means your bulbs survived winter and growth is on track.
- During Bloom: Water if needed and remove faded flowers to prevent seed formation. This keeps the plant focusing energy on bulbs.
- After Bloom (Late Spring): Let leaves die back naturally without cutting them. Yellowing leaves show bulbs are storing energy for next year.
- Late Summer: Decide if you’ll lift and store bulbs. Or, leave them in the ground. Your choice depends on the climate. Bulbs stored in a cool, dry place stay healthy until fall planting.
Frequently Asked Questions
Are Tulips Easy to Grow in Containers?
Yes, tulips can grow well in containers with proper soil and drainage. Choose a pot at least 8 inches deep and use a good potting mix.
Do Tulips Need Fertilizing to Bloom Well?
Tulips benefit from a balanced fertilizer at planting and after blooming. Use a low-nitrogen fertilizer to encourage flowers, not leaves.
Can Tulips Bloom in Clay Soil?
Tulips can live in clay soil only if it drains water well. Add compost or sand to clay soil for better drainage and healthier bulbs. This helps reduce the risk of bulbs rotting underground.
How Long Do Tulip Bulbs Last in the Ground?
Tulip bulbs can last several years but may decline without care. Removing spent flowers and proper after-bloom care helps bulbs store energy.
Are Tulips Deer Resistant Plants?
Tulips are not deer resistant and often get eaten by deer. Use fencing or repellents if deer are common in your area.
Is It Better to Plant Tulip Bulbs in Spring or Fall?
Plant tulip bulbs in fall to see flowers in spring. Choose a time 6 to 8 weeks before frozen ground sets in.
This timing lets bulbs root before winter. Spring planting rarely produces strong flowers.
The Bottom Line
Growing tulips is doable with the right timing and care. Start by picking good bulbs and a sunny spot today. Watch your garden slowly fill with these bright spring blooms.