How to Use a Pump Sprayer: Simple Steps for Safe, Effective Spraying
Learning how to use a pump sprayer is easier than you think. Simply fill the tank below the 1.5-liter line and pump about 15 to 30 times. This builds enough pressure to spray evenly and cover your plants well.
Stand 18 to 24 inches from your plants. Hold the nozzle 12 to 18 inches away.
Use a steady sweeping motion to avoid over- or under-spraying any area. That way, your plants get just the right amount of solution.
Don’t overfill the tank because too much liquid means less pressure and poor spray. Also, pick a calm day so wind or rain won’t mess up your work. Following these simple steps leads to safe and effective spraying each time.
Key Takeaways
- Fill the tank only up to the 1.5-liter fill line to build proper pressure.
- Pump between 15 and 30 times depending on your sprayer model for best results.
- Stand 18 to 24 inches away from plants for even coverage without damage.
- Hold the nozzle 12 to 18 inches away and sweep steadily across plant surfaces.
- Spray on dry days with no rain expected for at least 24 hours afterward.
- Leave 2 to 3 inches of air space at the top of the tank when filling.
How to Use a Pump Sprayer Step-by-Step
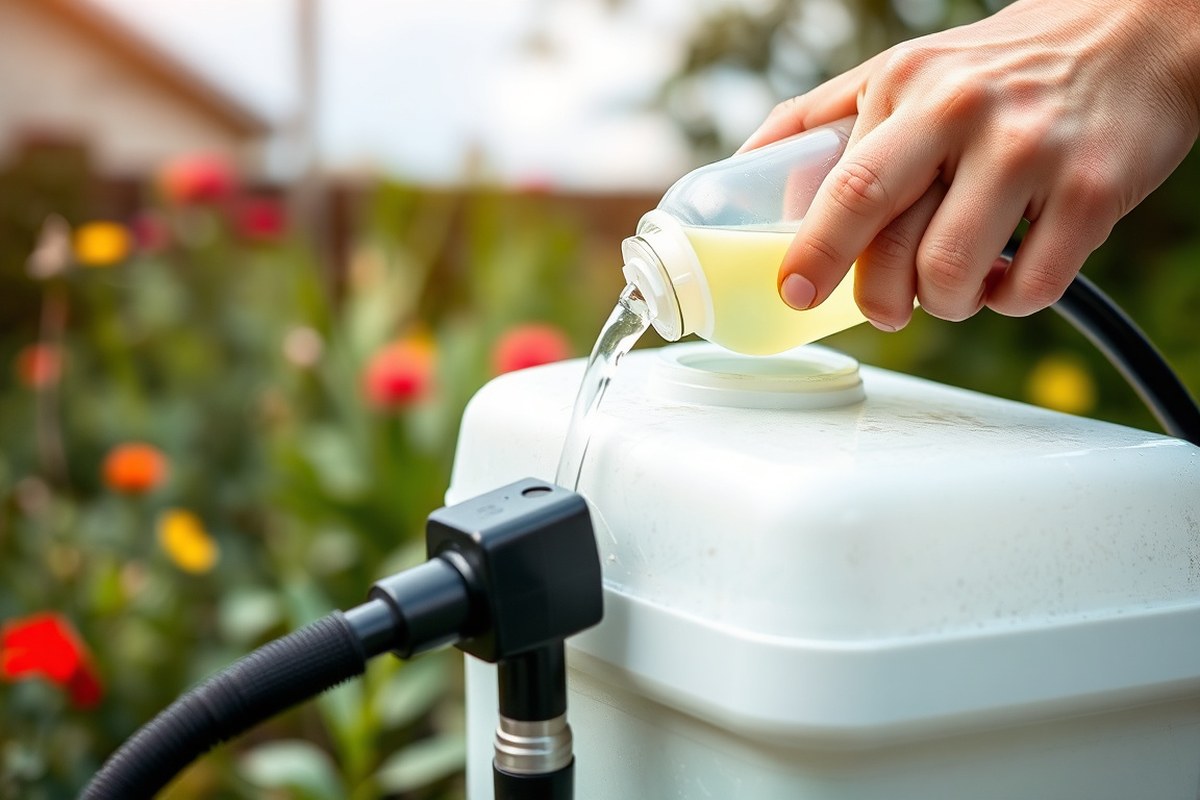
Preparing and using a pump sprayer properly helps you get even coverage without wasting solution. Fill the tank right, then pump the handle to build pressure. Spray from a fair distance to cover the plants evenly.
This helps get good coverage without waste. Releasing pressure after use keeps your tool safe and ready next time.
Follow these steps to use your pump sprayer the right way:
- Check the tank is empty and clean: Make sure no chemicals or residues remain before adding new ones. Always rinse the tank well first. Rinse the tank if needed.
- Fill the tank: Pour your mixed solution up to the recommended fill line, usually around 1.5 liters. Avoid overfilling so there’s enough air space for pressure.
- Secure the lid tightly: Screw the top back on firmly to stop leaks. This also helps build up pressure inside the tank.
- Pump the handle steadily: Pump about 10 to 20 times until you feel resistance. This means the tank is pressurized and ready to spray.
- Spray evenly: Hold the nozzle 18 to 24 inches from the plants. Move the sprayer in slow, steady passes to cover all surfaces well.
- Adjust pumping if spray weakens: If the spray pressure drops, pump the handle again. Do this before you finish spraying your plants.
- Release pressure after use: Unscrew the pump handle or press the valve to release pressure. This prevents accidents and keeps your sprayer safe. Never store the sprayer with pressure inside.
Avoid unscrewing the pump handle while spraying. This lets air out and drops pressure.
Keep the sprayer upright to prevent spilling the solution. Cleaning right after use prevents clogs and keeps it working well next time.
Choosing and Adjusting Nozzle Types for Your Task
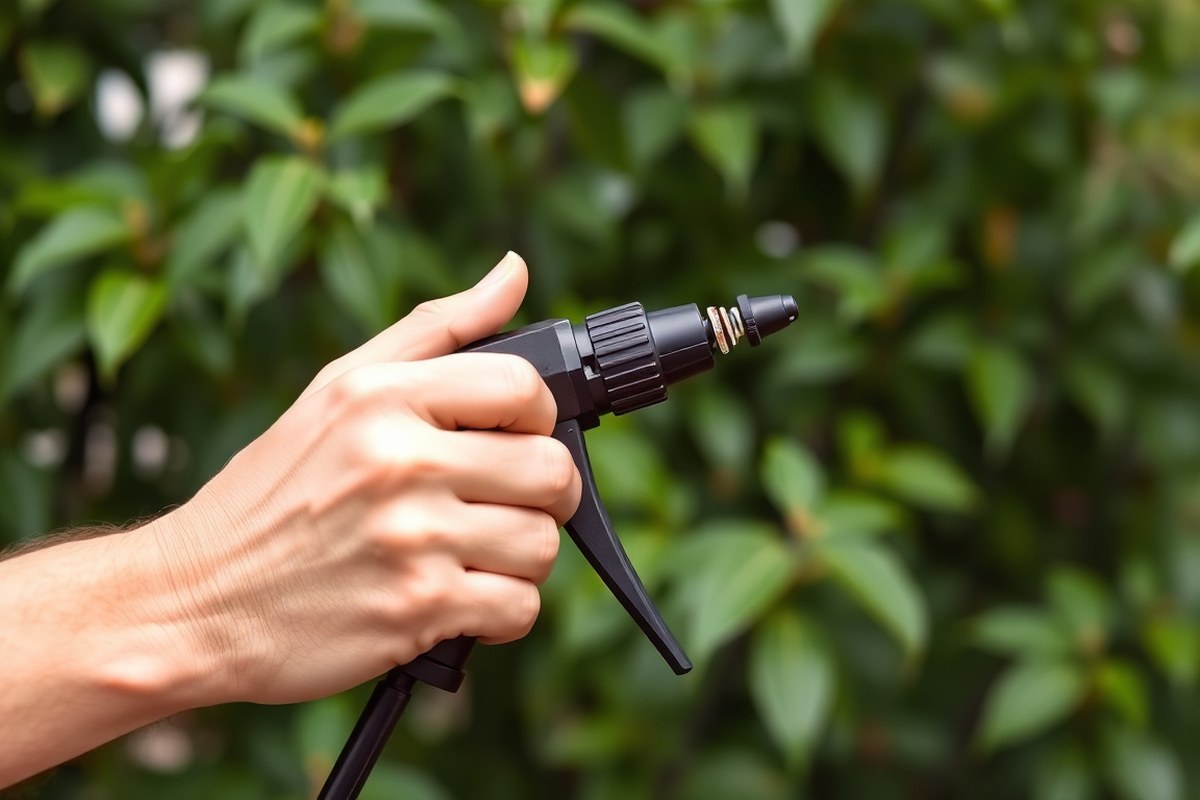
You can pick from several nozzle types to suit different garden jobs. Each nozzle gives a distinct spray pattern for specific uses like spraying pesticides or fertilizers. Adjusting the nozzle changes how the liquid spreads, helping you target plants with precision.
Nozzle Types and Spray Patterns
There are three main nozzle types you can find on pump sprayers. Cone or mist nozzles spray a wide circle of droplets. Fan nozzles create a flat, wide strip of spray.
Stream or jet nozzles shoot a narrow and strong spray beam. This variety covers many garden needs, from broad coverage to spot treatment on tough weeds.
| Nozzle Type | Spray Pattern | Best Use Case | Pro Tip |
|---|---|---|---|
| Cone/Mist | Wide, circular cloud | General foliar feeding or insecticides | Great for covering large leaf areas quickly. |
| Fan | Flat, wide strip | Edging sidewalks or treating rows | Perfect for preventing “drift” onto non-target plants. |
| Stream/Jet | Narrow, high-pressure beam | Targeted weed killing or cleaning crevices | Use this for “surgical” strikes on stubborn weeds. |
Knowing these spray patterns helps you choose the right nozzle. It also lets you spray safely and prevent waste or plant damage.
Best Uses for Each Nozzle Type
Cone or mist nozzles work well for applying pesticides or insecticides on foliage. The wide spray reaches many leaves without wasting product.
Fan nozzles suit fertilizers or herbicides along garden rows and edges. They give even coverage and reduce spray drift beyond your plants.
The stream nozzle fits weed killing when you must hit small spots. It’s also handy for power-cleaning narrow spaces like between stones.
Use a wide mist for insecticides but a narrow stream to hit weeds precisely.
Switch nozzles for each task to make your spraying more effective. Avoid mixing chemicals by not switching nozzles without cleaning thoroughly.
How to Adjust Spray Patterns
You usually can twist or slide your nozzle tip to change the spray style. Turning it one way makes a fine mist; the other creates a tight stream.
First, pump up the sprayer. Next, spray over a safe test spot.
Finally, adjust the nozzle while spraying. Stop twisting when you get the pattern that fits your job.
Keep the nozzle 12 to 18 inches from plants for even coverage. Choose the spray type that fits the job.
Use a fine mist for foliar feeding. Pick a wide fan for broad coverage or a stream for spot spraying.
Mixing and Filling Solutions Safely
Choose your garden chemicals carefully and always follow the label instructions. Mix the solution precisely, using measuring tools to avoid over- or under-diluting. Clean your pump sprayer thoroughly after each use to stop contamination and chemical buildup.
Reading and Following Chemical Labels
Always read the chemical label twice before mixing. The label has the exact dilution ratio and safety rules. Follow these instructions carefully, as they protect you and your plants.
The label also tells you how much product to add per gallon of water. For example, a pesticide might need 1 tablespoon per gallon. Use this measurement exactly to prevent damage or poor results.
Recommended Dilution and Mixing Procedures
Start by rinsing the sprayer tank with clean water to remove old residue. Then, measure the chemical concentrate with a scoop or measuring spoon. Add the chemical to the tank first before filling with water.
Use the dilution ratio from the label and fill the tank with water to that level. Mix the solution gently by swirling or shaking the tank. Never mix different chemicals in the same sprayer unless the label permits it.
Preventing Cross-Contamination
Always flush the tank, hose, wand, and nozzle with fresh water. Do this minimum of three times to clear out all chemical residue. Keep the sprayer standing upright to prevent leaks or chemicals seeping into the pump.
Keep the sprayer dedicated to one chemical type if possible. Residue from different products can cause poor application or damage plants. Always follow disposal recommendations for leftover pesticides or fertilizer mix found on the label.
Effective Spraying Techniques for Even Coverage
Hold the sprayer wand 12 to 18 inches from plants. This distance gives the right spray pattern. Keep it steady for even coverage.
Getting too close risks over-saturating the leaves, which can cause damage or promote disease. Too far away and the spray drifts, wasting product and missing the target.
Keep a steady, even back-and-forth motion while spraying. Move at a speed that allows liquid to lightly cover surfaces without pooling.
Overlapping your passes slightly helps avoid missed spots but don’t linger in one place. For large garden beds, use a flat fan nozzle for quick, uniform coverage.
Angle the wand to spray directly onto the plant surfaces or soil around the base. Pointing the wand upward or sideways can cause spray drift. It can also cause runoff onto nearby areas.
This risk grows on windy days. Avoid spraying right before rain or heavy watering to prevent chemicals from washing away.
For tall plants or trees, hold the wand higher. Use a nozzle made for spraying from a distance. A hollow cone nozzle works well.
Sweep the wand slowly across branches to coat leaves evenly. For smaller plants or ground cover, keep the wand closer.
Use a wider spray pattern to cover more area. This saves time and effort.
Carry the sprayer by holding the tank, not the wand or hose. This protects the hose from damage during use. Spray when conditions are calm with moderate temperatures.
Early morning and late afternoon are the best times. Avoid windy or hot parts of the day. Strong sun or heat can cause the spray to evaporate too fast.
When covering large areas like lawns or vegetable beds, divide the space into sections. Spray one section at a time with a consistent pace and pattern. Check your spray often to spot dry or wet areas.
Adjust your speed or wand distance as needed. This keeps plants evenly watered or treated.
Troubleshooting Common Problems with Pump Sprayers
Leaks often come from worn or damaged seals. The rubber O-ring inside the pump can wear out with use. You’ll notice this if the sprayer drips or liquid seeps out during pumping.
Clogging usually causes uneven spray patterns or no spray at all. Dirt or leftover chemicals narrow the nozzle or hose opening. A partial clog leaves spots with weak spray; a full clog stops flow.
Low pressure happens when the sprayer can’t hold air inside. Too much liquid in the tank means less air space to build pressure. Check the pump seal and hose for cracks or loose fittings that leak air.
Start by checking these common problems using the table below. It matches the issue to likely causes and gives quick fixes you can try yourself.
| Problem | Likely Cause | Solution |
|---|---|---|
| Uneven Spray Pattern | Partial Clog | Soak nozzle in vinegar and scrub with a soft brush |
| No Liquid Emerging | Complete Blockage | Flush nozzle backward or replace the nozzle |
| Dripping/Leaking | Worn O-ring | Replace the rubber seal inside the pump |
Vinegar soak usually takes 15 to 30 minutes depending on buildup. Use a soft brush like an old toothbrush to avoid damage.
For blocked nozzles, try flushing water backward through the nozzle. Replace if this does not help.
Replace O-rings from your sprayer’s parts kit or hardware store. This takes about 5 minutes and costs just a few dollars. Pump the sprayer until you feel firm resistance to build proper pressure.
Don’t fill the tank too full; leave some air space to build pressure safely.
Always rinse your sprayer after each use, especially if switching chemicals. Letting residue dry inside can cause clogs or damage seals. Store the sprayer empty and dry to avoid leaks or pressure loss over time.
Cleaning and Maintaining Your Pump Sprayer
Rinsing your pump sprayer right after each use saves time and trouble. Chemicals left inside can clog nozzles and wear out seals fast. Cleaning also stops corrosion and keeps your sprayer ready for the next job.
Follow these steps to flush and clean your sprayer well and keep it in good shape:
- Empty any leftover solution safely into a proper disposal area. Avoid pouring chemicals on plants or soil.
- Fill the tank with clean, warm water. Pump it several times to pressurize the sprayer.
- Spray clean water through the nozzle until the tank feels empty. This clears internal parts.
- Remove the nozzle and soak it in warm water. Use a soft brush to clean out all holes gently.
- Check nozzle and seals for cracks, wear, or damage. Replace these inexpensive parts if needed.
- Rinse the inside of the tank and wipe down the outside to remove residue and dirt.
- Let all parts dry completely before storing. This prevents mold and rust from developing.
- Store your sprayer loosely assembled in a dry, cool spot. Don’t pick it up by the nozzle.
Inspect your sprayer seals and parts regularly. Swollen or cracked seals let air and fluids escape. Replacing them keeps your sprayer airtight and working well.
A dry, clean sprayer will last much longer and avoid clogs. Keeping your hands clean and dry while using the sprayer also helps. It stops your grip from slipping, which protects the nozzle and pump.
Safety Precautions When Using a Pump Sprayer
Safety is key when using a pump sprayer with chemicals. Wear proper gear to protect your skin, eyes, and lungs. Handle spills quickly to keep yourself and the environment safe.
Essential Protective Gear
Wear gloves to keep your hands safe from chemicals. Eye protection like goggles stops spray or splashes from getting in your eyes.
Use a mask to avoid breathing in any fumes or mist. Long sleeves, pants, and closed-toe shoes protect your skin completely.
Spill Containment and Cleanup
Spills must be stopped right away to avoid spreading chemicals. Use materials you have on hand to soak up leaks fast.
After containing and soaking the spill, clean up carefully. Disposal needs to follow local rules to protect the environment and others.
- Stop the spill from spreading by surrounding it with sand, kitty litter, or a towel.
- Absorb: Cover the spill with an absorbent material to turn liquid into solid.
- Clean: Scoop up the soaked material using a shovel or stiff cardboard.
- Dispose: Put waste in a sealed bag and follow your local hazardous waste rules.
Environmental and Timing Considerations
Spray only on calm days with little or no wind to prevent chemical drift. This helps avoid harm to nearby plants, pets, and people.
Pick a day with no rain forecasted for at least 24 hours after spraying. Rain can wash chemicals away, reducing effectiveness and causing pollution.
Avoid spraying in midday sun or extreme heat. Heat can make chemicals evaporate before they reach your plants.
Deciding Which Pump Sprayer Fits Your Needs
Garden pump sprayers come in several types: manual, backpack, hose-end, and battery-powered models. Each suits different garden sizes and spraying jobs. Choosing the right one saves effort and improves spraying quality.
Manual sprayers use a hand pump to create pressure. They usually hold 1 to 3 gallons and suit small to medium gardens. Backpack sprayers strap on your back for easy carrying.
They work like handheld sprayers. They are great for bigger jobs needing movement.
Battery-powered sprayers pump liquid automatically, cutting out manual effort. They cost more, often $80 to $200 or more. But they help if you have a large garden or want quick, even spraying.
Hose-end sprayers attach to your garden hose. They spray while you water plants. They work fast but stay near the hose.
| Sprayer Type | Capacity | Power Source | Best For | Typical Cost |
|---|---|---|---|---|
| Manual Pump | 1 to 3 gallons | Hand Pump | Small to medium gardens, spot treatments | $20 to $50 |
| Backpack Sprayer | 3 to 5 gallons | Hand Pump | Large gardens, mobility needed | $40 to $100 |
| Hose-End Sprayer | Depends on hose | Water Pressure | Large areas near hose, fast watering plus spraying | $15 to $40 |
| Battery-Powered Sprayer | 1 to 4 gallons | Rechargeable Battery | Large gardens, frequent use, minimal effort | $80 to $200+ |
Pick a manual sprayer when your garden is small or you do spot treatments. Size and weight keep it manageable, and you save money. Choose a backpack sprayer for large areas.
Use it if you must move a lot while spraying. It saves time and effort.
Battery-powered sprayers suit bigger gardens or when you want less pump work. Their convenience saves time but requires recharging and costs more upfront.
Hose-end sprayers work well for large lawns or shrub beds close to a water source. But you can’t use them anywhere else.
Tip: Never fill any sprayer to its brim. Leave space for pressure buildup and safe pumping.
Step-by-Step Action Plan for Using Your Pump Sprayer
Follow these steps to get started with your pump sprayer today. Each phase gives clear actions to help you work safely and effectively.
- Before you start: Read all safety instructions and prepare your chemicals. Knowing what you’re using keeps you safe and protects your plants.
- Day 1: Fill the sprayer with water first and test the nozzle spray. This helps you adjust the nozzle and check for leaks.
- Day 1: Mix your solution carefully and fill the sprayer. Use the right measurements shown on the label to avoid damage.
- Day 1: Pump to pressurize the sprayer, then spray a small test area. Make sure the spray covers evenly without spurts or drips.
- Week 1: Clean the sprayer thoroughly after each use. This prevents clogs and keeps your sprayer working well.
- Week 2: Check the nozzle and hose for wear or damage. Replace parts if needed to keep your sprayer safe and reliable.
- Ongoing: Use appropriate protective gear every time you spray. Gloves and masks reduce your risk from chemicals.
Frequently Asked Questions
How Do I Know When to Stop Pumping a Manual Sprayer?
Stop pumping when you feel firm resistance on the handle. This pressure means the tank is sealed and ready to spray for best performance.
Can I Use Tap Water for Mixing Chemicals in a Pump Sprayer?
Yes, tap water is usually fine for most garden solutions. Just avoid hard or rusty water to prevent nozzle clogs and sprayer damage.
What Is the Best Way to Store My Pump Sprayer After Use?
Store your sprayer upright and empty to stop leaks or damage to the pump. Keeping it clean and pressurized may cause wear or build-up.
How Do I Open a Stuck Pump Sprayer Lid Safely?
Gently twist the lid without forcing it to avoid cracks or leaks. If stuck, try warming it with warm water to loosen the seal.
Why Is Releasing Pressure After Spraying Important?
Releasing pressure stops chemicals from spraying unexpectedly. Unscrew the pump or use a pressure release valve before storing.
Can I Use My Pump Sprayer to Water Plants?
Yes, a sprayer is handy for watering, especially gentle misting on delicate plants. It’s easier than dragging around a hose.
Final Thoughts
Using a pump sprayer the right way saves time and keeps your garden healthy. Start with simple tools and safety steps before moving to bigger jobs. Give your sprayer a regular check to keep it working at its best.