What Is the Difference Between a Cultivator and Tiller: A Complete Guide for Beginners
A cultivator works shallow, about 1 to 3 inches deep, to control weeds and loosen soil without harming plant roots. A tiller digs much deeper, around 8 to 12 inches, breaking up hard ground and turning the soil over. This prepares fresh areas for planting.
The key difference is how deep they work and their purpose. Cultivators soften soil in established beds and keep weeds down. Tillers mix compost and amendments deeply and start new beds easily.
Think about your garden size and soil before choosing. Cultivators suit small plots with existing plants.
They save time by working gently around roots. Tillers fit larger areas with tougher soil but need more effort and care to avoid damage.
Key Takeaways
- Cultivators work best for shallow weed control and soil aeration.
- Tillers dig deeper to prepare new beds and loosen compacted soil.
- Cultivator tines are smaller and gentler around established plants.
- Tiller tines are larger and designed for heavy-duty digging jobs.
- Choose a cultivator to maintain flower beds and vegetable gardens.
- Pick a tiller for breaking new ground or mixing in soil amendments.
What Is the Key Difference Between a Cultivator and a Tiller?
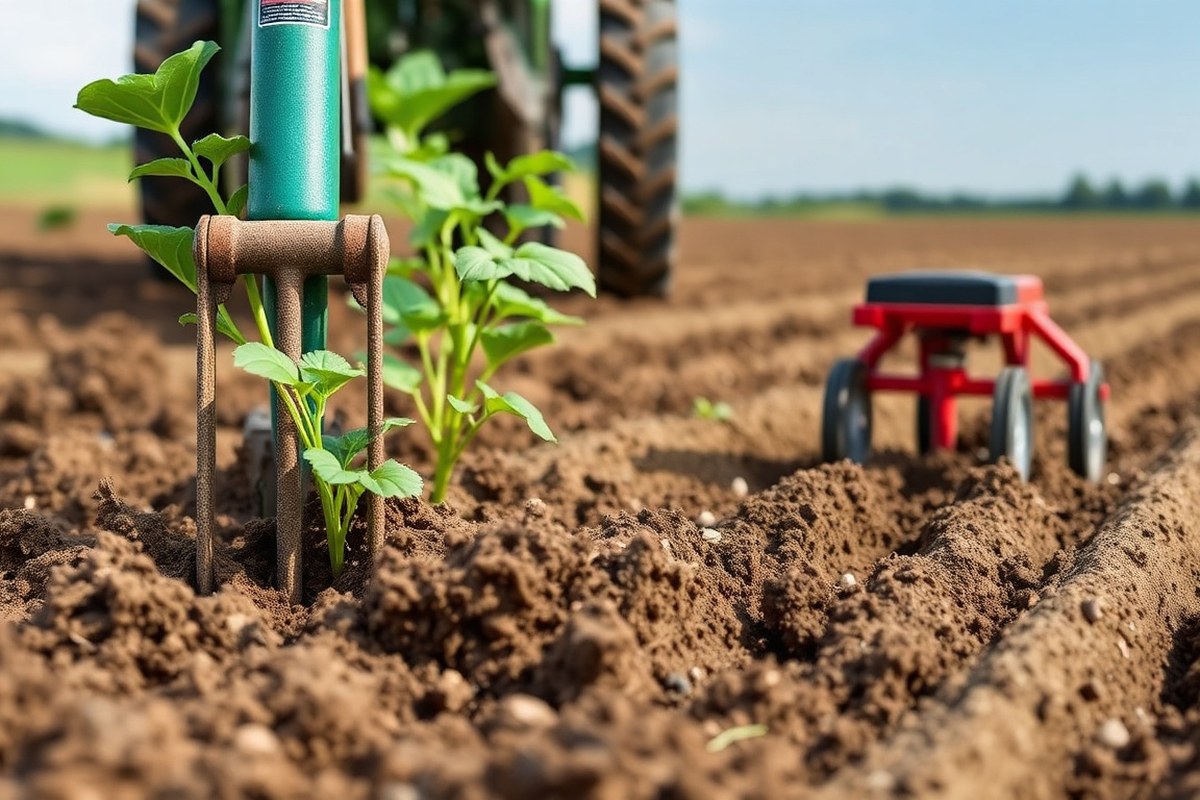
The main difference between a cultivator and a tiller is how deep they work the soil. A tiller digs much deeper, turning soil 6 to 12 inches down. A cultivator only stirs the top 2 to 4 inches of soil.
Because of this depth difference, their purposes vary a lot. Tillers break new ground, making hard, compacted soil ready for planting. They can mix in amendments deeply or break up sod in new gardens.
Cultivators, on the other hand, are meant for maintaining soil that has already been worked. You use a cultivator to remove weeds or aerate the surface without disturbing roots.
Using the right tool matters. Tillers usually have heavy, sturdy tines to dig deep and completely invert the soil. Cultivators have lighter tines that gently rake and mix the upper soil layer.
Since cultivators only work shallowly, they won’t harm established plants near the surface. Tillers can damage roots if you use them around growing plants, so avoid that.
Depth control is also different. Most tillers let you change digging depth from 6 to 12 inches. This helps you work with different soil types.
It also fits many garden sizes. Cultivators dig 2 to 4 inches deep. This is great for flower beds.
They work well in raised beds for light stirring. Some models even have adjustable widths or shallow-depth options to fit your garden shape.
In terms of effort and power, tillers tend to be heavier with more powerful motors. They often run on gas or high-output electric engines because deep soil breaking takes more force.
Cultivators are lighter and easier to handle, with many corded or battery models. This makes cultivators better for quick touch-ups during the growing season.
How Do Cultivators and Tillers Work on Soil?
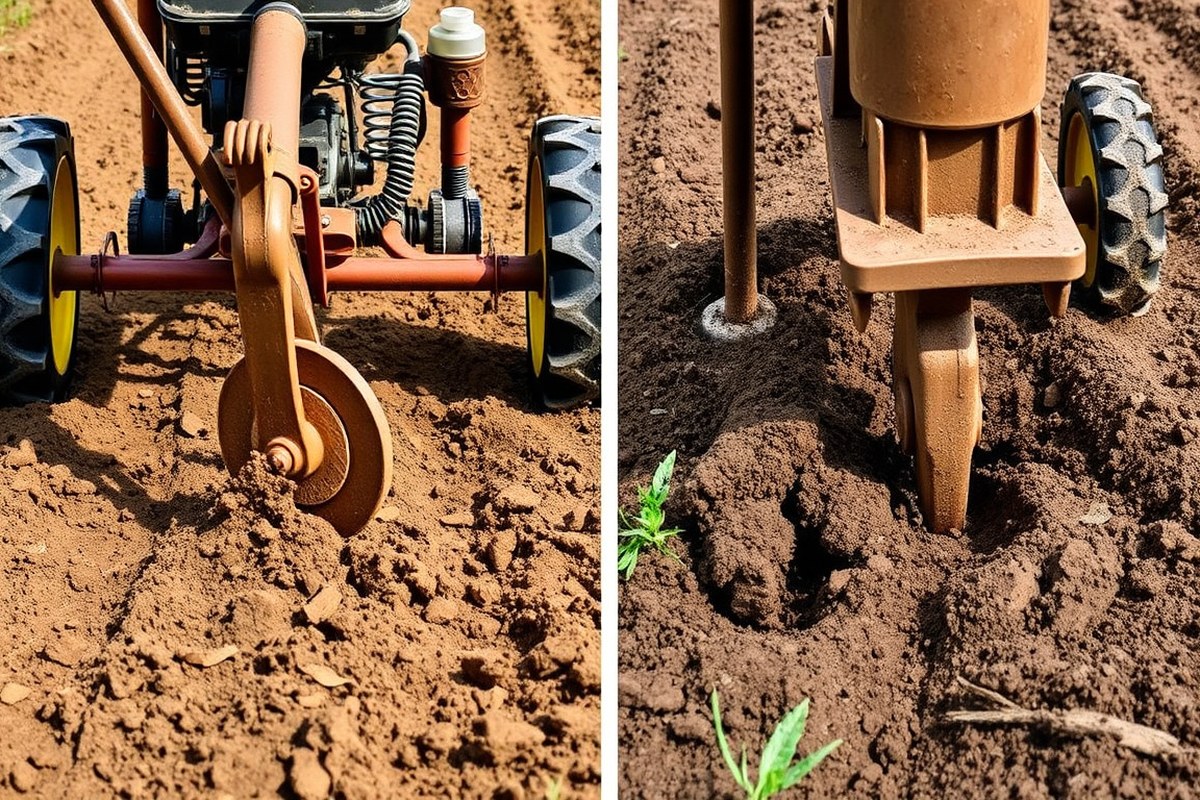
Both cultivators and tillers work by breaking up soil with rotating tines. But they use different tine designs, speeds, and depths.
Cultivators have smaller, faster-moving tines that lightly mix soil near the surface. Tillers use larger, stronger tines that dig deeper and churn the soil to loosen compacted ground.
How Cultivator Tines Work
Cultivators have small, narrow tines that spin quickly, usually 10 to 12 inches wide. These tines chop through weeds and loosen topsoil up to about 2 to 4 inches deep. The fast rotation grinds soil into a fine texture.
This is perfect for mixing in compost or fertilizer. Use it before planting.
The shallow tillage avoids disturbing beneficial soil layers or uprooting established plants. Cultivators work best in garden beds that are already set. They do well between rows where gentle aeration is needed.
They also help with weed control. They don’t break up hard soil or sod.
But they improve soil by keeping it loose. This helps soil stay crumbly and healthy.
Tiller Tines and Deep Soil Turning
Tillers have larger and stronger tines. They turn slower but dig deeper. Usually, they reach 5 to 6 inches or more.
Tillers are wide, often 16 inches or more. This lets them cover wider soil strips at once.
They handle more soil per pass. The tines cut deeply, breaking up compacted soil and turning under grass, roots, and heavy debris.
This deep churning alters soil structure by loosening hard clay or compacted earth. It creates loose, aerated soil layers better suited for new garden beds and planting areas. However, tilling too often or too deep can destroy soil structure, causing erosion and nutrient loss.
Different Rotation Speeds and Sizes
Cultivator tines spin faster than tiller tines. This high speed focuses on gentle stirring rather than heavy digging. Cultivators are smaller and handle less soil per pass.
This makes them good for careful work around plants. They also fit well in narrow beds.
Tillers slow down the rotation power to dig in harder soils. Their bigger tines push and turn soil like mini plows.
Tillers work slower but heavier, needing more engine power and fuel. This uses more fuel but saves time on tough soil.
Soil Changes from Each Tool’s Operation
Cultivators produce fine, crumbly soil ideal for seedbeds and light weed control. Their shallow disturbance preserves soil layers and microbes. You can use a cultivator regularly during the growing season.
It keeps soil loose without hurting plants. It’s good for soil health.
Tillers fracture dense, compacted soils and mix in amendments deeply. This breakdown of hard clods speeds root growth and water penetration. Tilling can harm soil life and structure if done too often.
It’s worse if you till wet soil. Use it less to protect the soil.
Only till deeply with a tiller when starting a new garden bed or fixing hard soil. Overuse can harm soil health.
Types and Variations of Cultivators and Tillers
There are several types and sizes of cultivators and tillers to choose from. Different kinds suit various garden sizes, soil types, and power needs. Understanding these choices helps you pick the right tool for your garden tasks.
Front-Tine vs Rear-Tine Tillers
Front-tine tillers have blades in front that turn the soil. They work well in small to medium gardens and lighter soil. Their lighter build makes them easier to maneuver in tighter spaces.
Rear-tine tillers have blades behind the wheels, offering more power. These are best for large gardens or heavy, compacted soil. They’re heavier but can break ground more deeply and handle tough jobs better.
Choose front-tine tillers if your garden is up to a few hundred square feet. Choose rear-tine for spaces over 1,000 square feet.
These work well in dense soil. They prevent struggles that weaker machines cause.
Handheld, Electric, and Gas Cultivators
Cultivators usually come as handheld or small electric machines. They’re perfect for stirring soil in flower beds or mixing compost in raised beds. Electric models suit small gardens and have lower noise and fumes compared to gas.
Gas-powered cultivators deliver more power and are suited for tougher soil or larger beds. They cost more upfront and need regular fuel and maintenance. But can work longer without cord limits.
Corded electric models like the Sun Joe TJ599E cost less. They are lighter, too. Just be sure you have an outlet nearby.
The choice often depends on garden size and soil toughness. Smaller plots or indoor garden beds do well with handheld or electric cultivators. Larger, tougher soil benefits from gas-powered strength.
Mini vs Full-Size Models
Mini tillers and cultivators work great for raised beds and small home gardens. They weigh less, are simpler to use, and cost less, mostly ranging from $100 to $300. These fit in tight spots and don’t overwork the soil.
Full-size tillers are bulkier and heavier but cover large areas faster. They can break up hard soil and mix in amendments deeply. Gas full-size tillers often start around $500 and can exceed $1,000 for heavy-duty models.
Use mini models for garden spaces under 200 square feet. They are lighter and easier to handle. Great if you want a simple tool.
Pick full-size machines for areas bigger than 1,000 square feet. They handle hard and tight soil better. These machines work best for tough ground.
- Front-tine tillers: lighter, good for small to medium gardens
- Rear-tine tillers: heavier, best for large gardens and heavy soil
- Handheld cultivators: ideal for small beds and light mixing
- Electric cultivators: quieter, easier for small to medium gardens
- Gas cultivators and tillers: stronger, needed for tough soil and big gardens
- Mini tillers: best for raised beds and tight spaces
- Full-size tillers: cover large areas, break hard soil deeply
When Should You Use a Cultivator Instead of a Tiller?
You should use a cultivator when you want to gently loosen soil in established garden beds. Cultivators work best in soft or already worked soil that does not need deep turning. They work well in small to medium garden spaces.
You can avoid disturbing plant roots too much here. That keeps your plants safe and soil healthy.
Soil condition matters a lot for choosing a cultivator. Use a cultivator only on soft soil. Firm or packed soil won’t break well.
It may just push the soil around. Cultivators work best on loose soil. They lightly aerate and prepare it for planting.
This helps seeds grow better. Using a cultivator on hard ground wastes time and may damage the tool.
Cultivators are also very useful for weed control in your garden. They disturb the top inch or two of soil lightly. This uproots small weeds.
Your main plants stay safe. This keeps the soil structure intact, helping your plants stay healthy.
To use a cultivator effectively, follow these steps:
- Check that your garden soil is loose or has been tilled before.
- Clear out large rocks and debris from the bed to prevent damage.
- Turn on the cultivator and start working in small sections slowly.
- Use gentle passes over the soil to break up clumps and aerate it.
- Move around established plants carefully to avoid root damage.
- Stop after 2 to 3 inches of soil disturbance to preserve soil layers.
- Water the soil lightly after cultivating to help settle it for planting.
Following these steps usually takes 15 to 30 minutes for a small garden bed. The goal is finer soil without heavy disruption. Overworking soil with a cultivator can cause it to dry out or lose nutrients faster.
Cultivators protect roots and soil layers well. They work best in small gardens with existing plants. That prevents damage while working the soil.
They cost less and are easier to handle than tillers. You might spend $100 to $300 on a dedicated cultivator, which is less than many tillers.
Remember, cultivators won’t replace tillers in breaking up compact ground or large plots. They complement tillers by keeping garden beds healthy during the growing season. Choose a cultivator when your space suits it.
It works best with loose soil and small gardens. This tool keeps plants and soil safe.
When to Choose a Tiller over a Cultivator
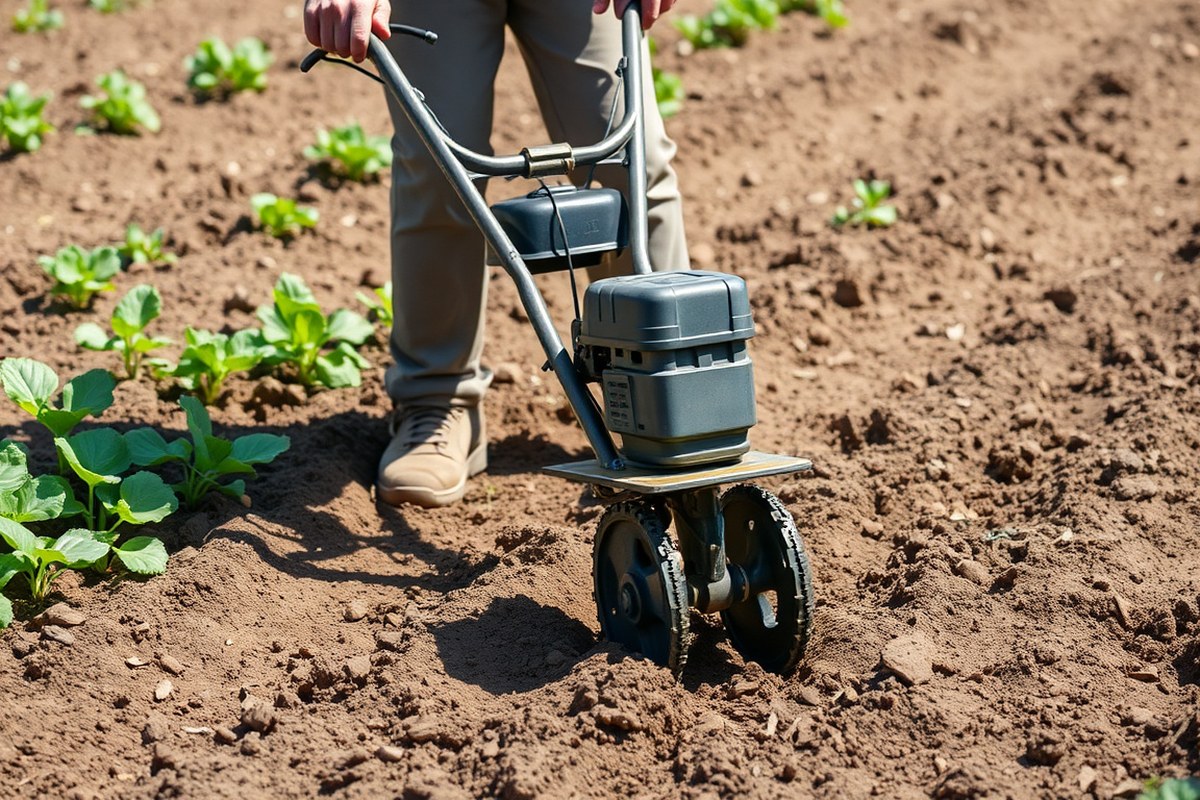
Tillers work best when you need to break up hard, compact soil. They dig deeper than cultivators, usually 8 to 12 inches deep.
This makes them good for new garden or flower bed prep. This depth helps loosen old lawns or densely packed garden soil fast.
You’ll save time on larger plots with a tiller. They move quicker, with tines spinning around 240 RPM. That speed breaks tough soil.
It finishes more ground faster than a cultivator. Cultivators work slower and mix ingredients better.
Some tillers have settings to shift from deep tilling to lighter cultivation. This versatility can cover several garden tasks, though their main job stays breaking hard ground.
Rear-tine tillers provide more power and deeper digging. Front-tine models suit lighter soil or smaller areas.
To use a tiller right, follow these steps for new garden prep. Start with clear soil. Work slowly to mix and loosen soil.
- Clear the area of rocks, sticks, and debris to avoid blocking the tines.
- Adjust the tiller depth control to about 8 to 12 inches, depending on soil toughness.
- Start the tiller and slowly push it forward, letting the tines dig into the soil.
- Work methodically across the plot in straight rows to ensure even soil breaking.
- Repeat if soil stays clumped or hard, going over tough spots twice.
- Once loosened, turn off the tiller and rake the soil surface to smooth it.
- Add compost or fertilizer after tilling to mix nutrients into the fresh soil.
Always read the tiller’s manual for safety before use. Don’t push it through rocky soil. That can break the machine.
Decision Guide: Choosing Between a Cultivator and a Tiller
Select your tool based on garden size and soil condition. Use a tiller for large beds or heavy, compacted soil. Choose a cultivator for smaller spaces or light soil loosening.
Tasks also guide your choice. Tillers do deep digging and aerate soil well. Cultivators handle weeding and mixing fertilizers near plants.
| Feature | Tiller | Cultivator |
|---|---|---|
| Garden size | Large beds over 100 sq ft | Small beds under 100 sq ft |
| Soil type | Compact, clay, or tough soil | Loosened, sandy, or soft soil |
| Primary task | Deep digging and aeration | Weeding and shallow mixing |
| Power level | High, often gasoline powered | Lower, can be electric or hand-powered |
| Weight and size | Heavy, bulky | Light and maneuverable |
Hybrids combine features but cost more, around $300-$800. They suit medium gardens and do both jobs okay. Still, pure tillers or cultivators perform better in their roles.
To decide, write down your biggest gardening tasks and soil type. Match these with the table above.
If soil is hard and you want to prep new beds, go for a tiller. For maintenance and planting, pick a cultivator.
Common Mistakes When Using Cultivators and Tillers (and How to Avoid Them)
Using cultivators and tillers without care leads to common mistakes that harm your garden. Knowing what to avoid helps you protect plants and soil. Let’s cover typical errors and how you can fix or prevent them.
Over-Tilling and Soil Damage
Turning soil too much with a tiller can harm roots. Cultivating too deep also damages the soil structure.
This makes it harder for plants to grow well. Over-tilling breaks down soil into fine particles, which increases erosion risks.
Use cultivators to loosen only the top 1 to 3 inches. Do this near established plants to avoid root damage.
Keep the soil surface light without digging deep. Tillers work better when loosening deeper or starting new beds, not around existing plants.
Improper Depth Settings
A common mistake is using wrong depth settings. Cultivators run too deep can kill plant roots. Tillers set too shallow may waste fuel and strain their engines without loosening soil properly.
Adjust depth so cultivators work at about 1 to 3 inches deep. Tillers should cut 4 to 6 inches deep unless preparing hard soil or raising beds. Check your manual for your tool’s recommended depth.
Safety Tips for Handling
Both tools have sharp spinning blades that can cause injury. Never use them around kids or pets and wear sturdy gloves and closed shoes for protection. Here are some key safety tips:
- Clear rocks and debris from the work area before starting.
- Don’t work in overly wet or icy conditions to avoid slips.
- Keep hands and feet away from moving tines or blades at all times.
- Always turn off the engine before making adjustments or cleaning.
- Use caution on slopes to avoid losing control or causing erosion.
Following these tips helps avoid accidents and tool damage while keeping your garden intact.
How to Maintain and Care for Your Cultivator or Tiller
Routine maintenance keeps your cultivator or tiller running well and safe. Gas models need more attention because of moving engine parts that wear out.
Electric models need less upkeep but still require regular checks to avoid damage. Checking the tines is one of the most important tasks for both tools.
The tines dig and turn soil, so sharp, intact blades work best. You should inspect tines every few uses, or at least once a month.
Replace bent or dull tines to keep tillers and cultivators efficient and prevent overworking your soil. Overworked soil loses nutrients and structure, which hurts your plants.
Electric cultivators and tillers often need their cords and switches checked for safety. Gas models need oil changes every 20 hours of use. You also must clean the air filter regularly.
Check the spark plug about every 20 hours too. Lubricate moving parts on both machines to protect against rust and wear. This simple upkeep extends the life of your investment and keeps your garden soil healthy.
- Turn off and unplug or remove the spark plug before maintenance.
- Clean dirt and debris from tines and the underside using a brush.
- Check tines for cracks, bends, or dull edges; replace if damaged.
- Lubricate the tine shaft and any moving joints once a month with light oil.
- For gas models, change the engine oil every 20 hours or season.
- Clean or replace the air filter monthly during heavy use season.
- Inspect gas lines and tighten loose bolts before each use.
- For electric models, check the power cord for cuts or wear before each use.
Always disconnect power or remove the spark plug before cleaning or repairs to avoid accidents.
Step-by-Step Action Plan for Using Your Cultivator or Tiller
Getting started with the right tool will save you time and effort. Follow these steps to prepare your garden soil properly.
- Before you start: Check your soil condition. Use a cultivator for light soil loosening or a tiller for breaking hard soil.
- Day 1: Clear debris from the area. This stops the tools from clogging and ensures smooth operation.
- Day 2: Start with a cultivator to remove weeds and aerate soil around plants. Success means soil looks crumbly and loose.
- Day 4: Use a tiller to break up compacted soil in a new garden bed. The soil should feel softer and easier to dig.
- Week 2: Check tool condition and clean blades. Well-maintained tools cut through soil better and last longer.
- Week 3: Monitor plant growth for better root development. Proper soil prep helps plants grow stronger and healthier.
- Week 4: Adjust your use based on soil needs. Use cultivators regularly for weed control, tillers for major soil turning only.
- After 1 month: Check your garden’s soil texture. Decide if deeper tilling or light cultivation is needed next time.
Frequently Asked Questions
What Is the Main Functional Difference Between a Cultivator and a Tiller?
A tiller breaks up hard, tough new soil. A cultivator works better in softer soil or gardens already planted.
They each help prepare soil differently. This helps you know which tool handles tough soil or light weed control better.
Can a Cultivator Be Used on New Garden Soil Like a Tiller?
Cultivators usually aren’t strong enough for fresh, compacted soil. Tillers are better for new soil prep and breaking ground deeply.
Is It Easier for Beginners to Operate a Cultivator or a Tiller?
Cultivators are generally easier for beginners because they are smaller and lighter. Tillers need more strength and space to use safely.
How Does the Size of the Working Width Differ Between Cultivators and Tillers?
Tillers often have wider working widths, like 11″ to 16″. Cultivators tend to be narrower. Wider tools cover more ground faster.
Can a Hand Cultivator Replace a Motor Tiller for Garden Tasks?
Hand cultivators work for small gardens but lack power for large or rocky soil. Motorized tillers speed up larger job setups.
Do Gas and Electric Versions of Cultivators and Tillers Perform Differently?
Gas models generally have more power and reach deeper. Electric ones are lighter, quieter, and best for small plots or soft soil.
Before You Go
The main difference is that cultivators loosen soil and control weeds. Tillers break hard soil.
Pick the tool based on how tough your soil is and the job requirements. Start by testing your soil with a cultivator or tiller to see what it needs most.